3 Easy Self-Photography Tips For Better Photos

woman demonstrates self-photography tips with a tripod

Take Amazing Photos in Public

This article teaches you 3 easy self-photography tips to create beautiful compositions in public on your own. 

 Let’s get started!

1. Carry a tripod

One of the biggest challenges, when you begin to take photos of yourself, is to find cute locations and good timing to take your photos.

Over the years, and with practice, I found that the best time to take a photo is when you have the idea and for that you need to have the materials with you. 

My suggestion is for you to carry your tripod daily. If you see a beautiful location, you can take a photo at any time. This way you don’t have to come back on a different day to take your desired photo. 

Tripods these days are cheap and easy to buy in tech stores or online. Get an extensible tripod that will not occupy a lot of space and can usually be extended to your eye level. Many of them come with a bluetooth remote to help you take photos at a distance.

Alternatively, if you don’t have a tripod carry a water bottle with you. When you find a window ledge or pavement you can put the bottle on the ground and lean your phone into it.

The poor man’s tripod is a water bottle or a heavy book. I have used my bag on many occasions and leaned the phone against it. The set will look like the photos below. 

It is easier to photograph when you have the correct equipment. Also, your photos will look more natural with a variety of locations and outfits. 

Find below photos I have taken with my tripod or a water bottle over the years. 

taken in a garden close to my job. Put a water bottle on a car's roof and leaned the phone against it. used bluetooth remote
taken close to my sister's house. Used a water bottle and leaned it against a gate ledge. Set the timer and voilá
someone's garage entrance. Used an extensible tripod at eye level. Set the timer and posed.
at a palace museum visit. Leaned the phone against a water bottle and set the timer.

2. Take a video instead of a photo

Making a video has helped me a lot in crowded places or when I don’t have much time to take several photos. 

How to get a photo from a video:

– use the back camera of your phone for better quality.

– open the camera, choose video and lock the light (crucial point). Put your finger in front of the camera and touch the background of your video. The light icon will show. Click the lock to guarantee the lighting will not change during your video and ruin a good photo.

–  press record, and do different poses in front of the camera as if you were taking multiple photos.

– to choose your photos, pause the video where you want it and take a screenshot.

This approach also saves time from going back and forth to set the timer and you don’t have to worry about hiding the bluetooth remote. It is also really great to capture motion that is often lost in a photo.

However, remember that a video occupies more storage than photos. 

See two screenshots I have taken from a video. If your camera has better quality the photos will be of better quality as well.

screenshot of a video
woman turned around wearing gress dress that ties at the back in front of a green door
screenshot of a video

3. Don’t be hard on yourself

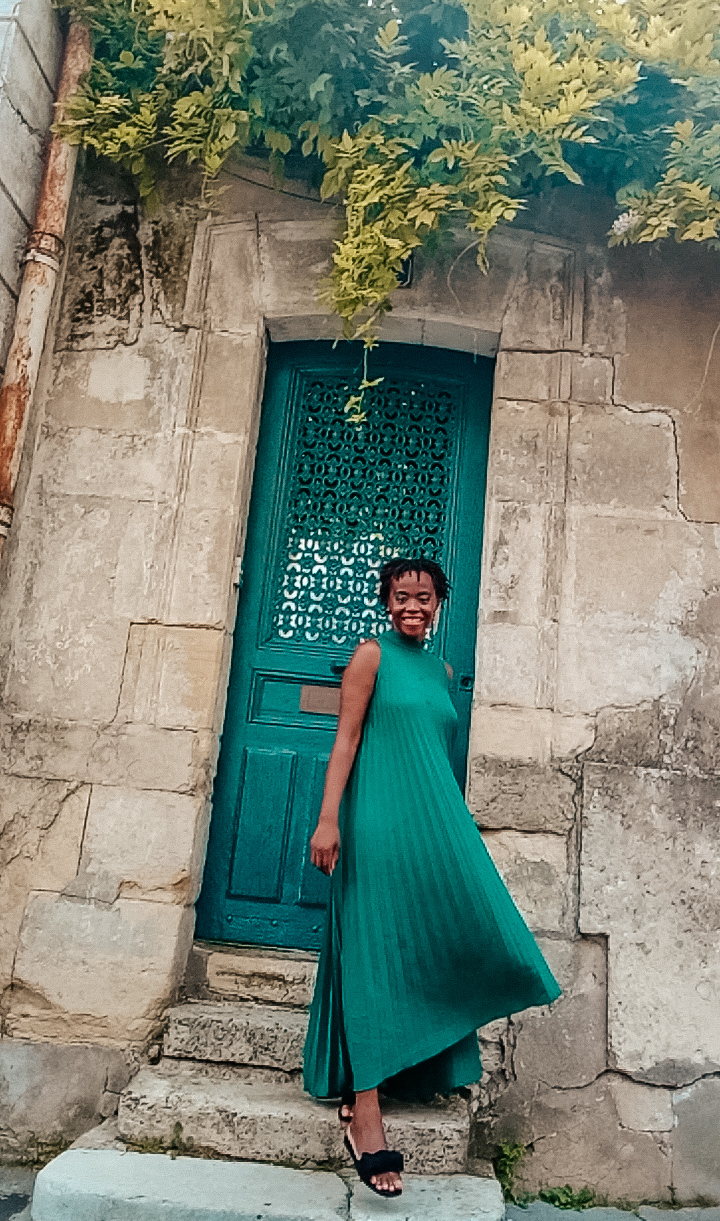
There is no such thing as a perfect photo. There is only the inspo and the final result. To eliminate the gap between the two, preparation and clarity are needed. You need to know what you want and what elements you need to get THE photo. 

Very few of us are original. Most of the time we are copying someone we have seen on social media or in magazines not realizing that they have years of experience and taking hundreds of photos to get that result. You can’t have the results they have without putting in the same amount of work.

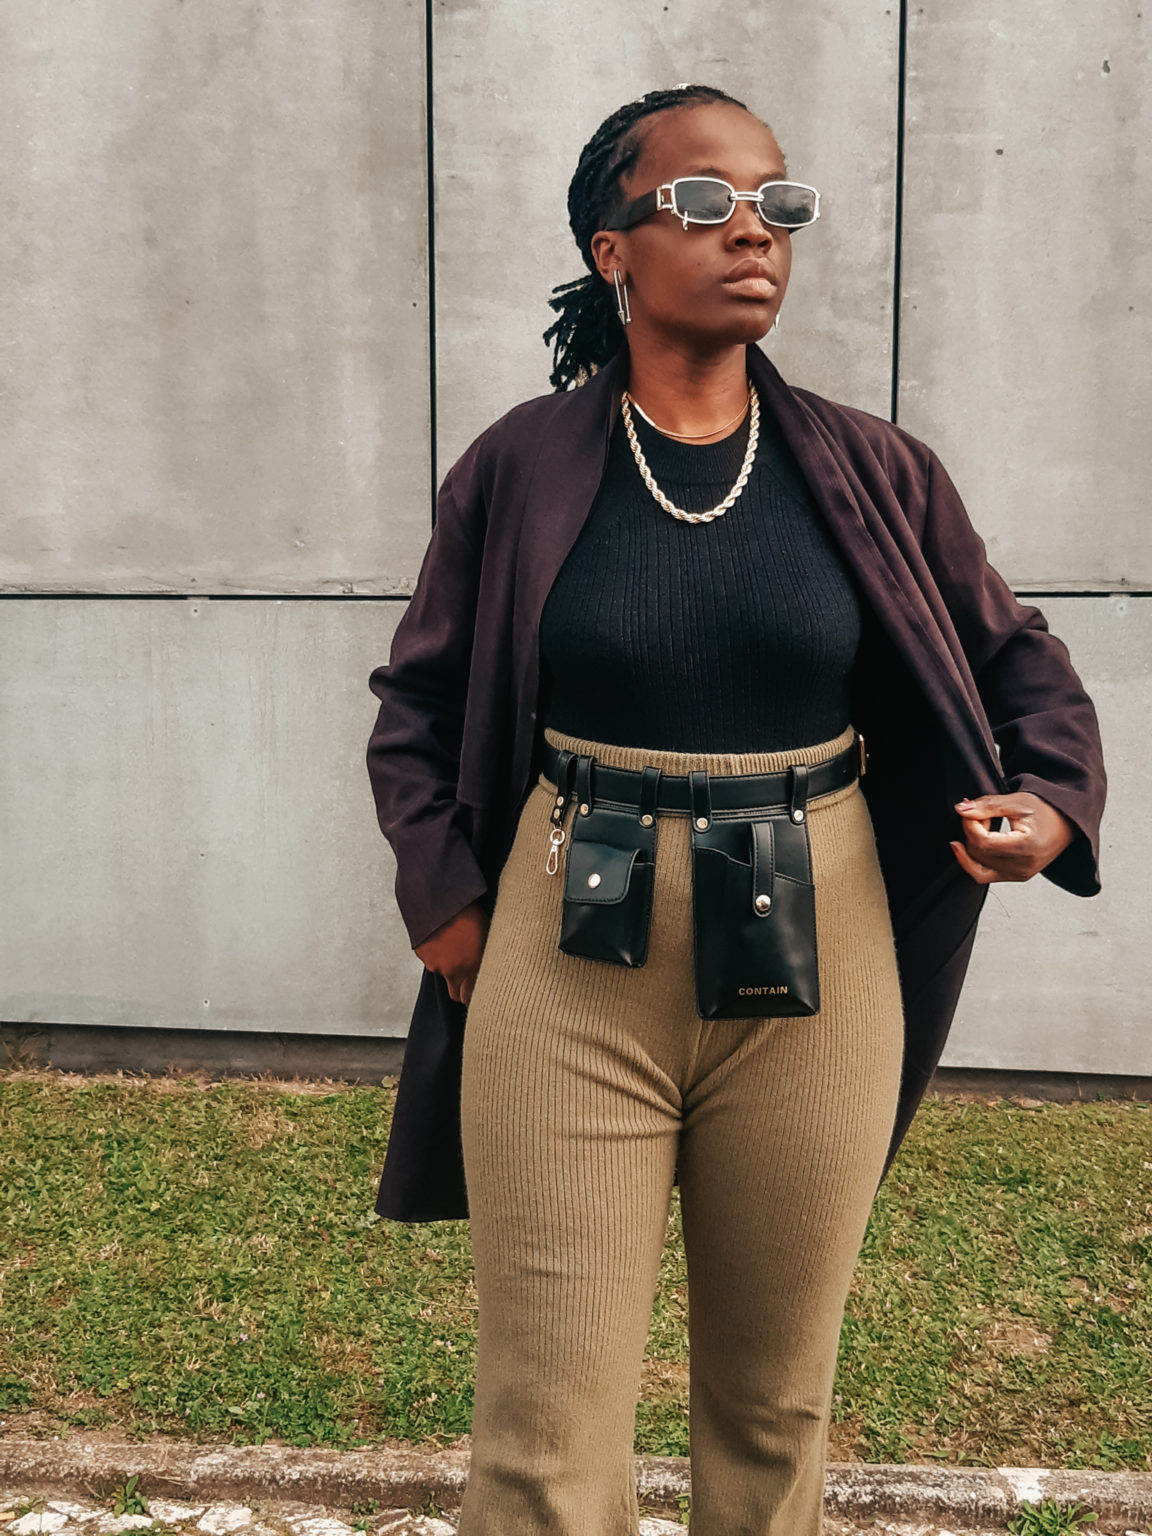
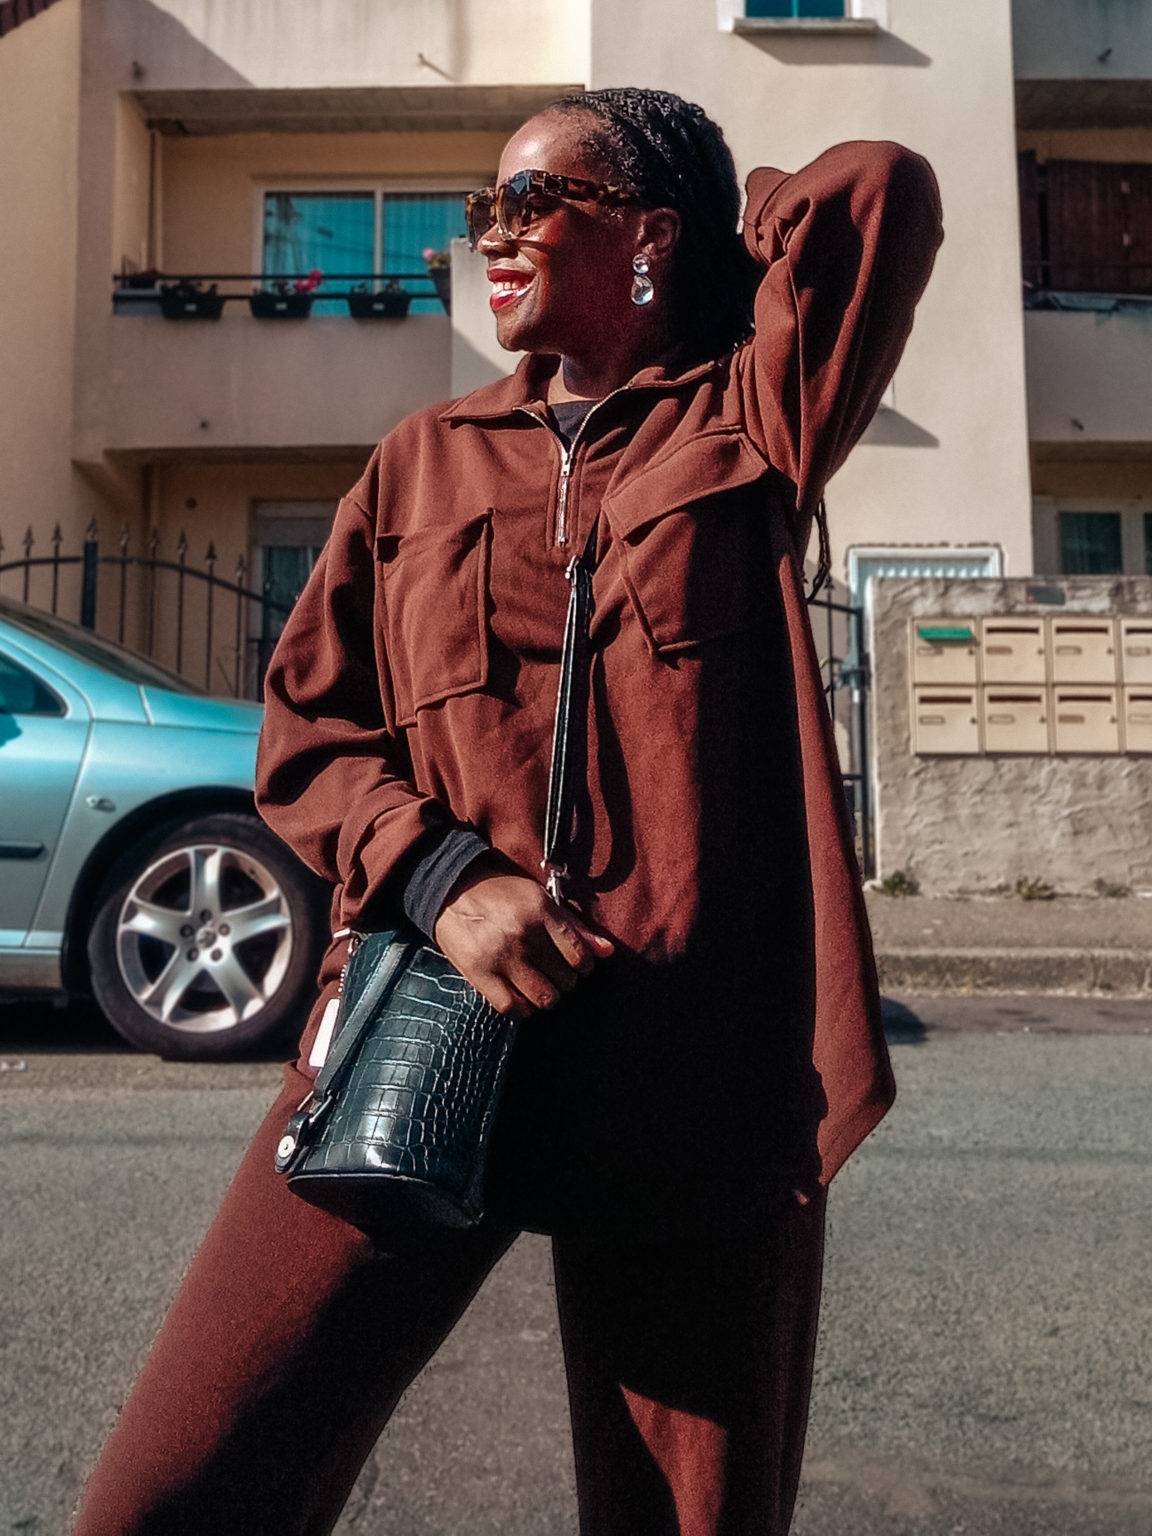
Taking beautiful photos is a learning process, and learning is nothing but practice. 
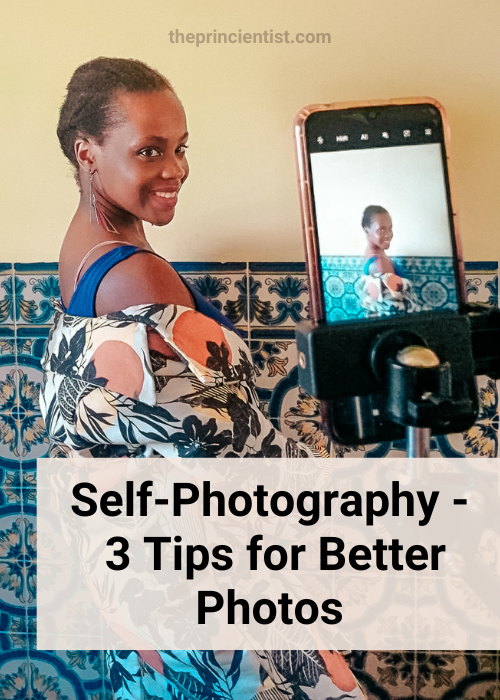
So the first piece of advice is to take lots of photos. 

Second, after you have gone out to take your photos, don’t delete any pictures until you are home. 
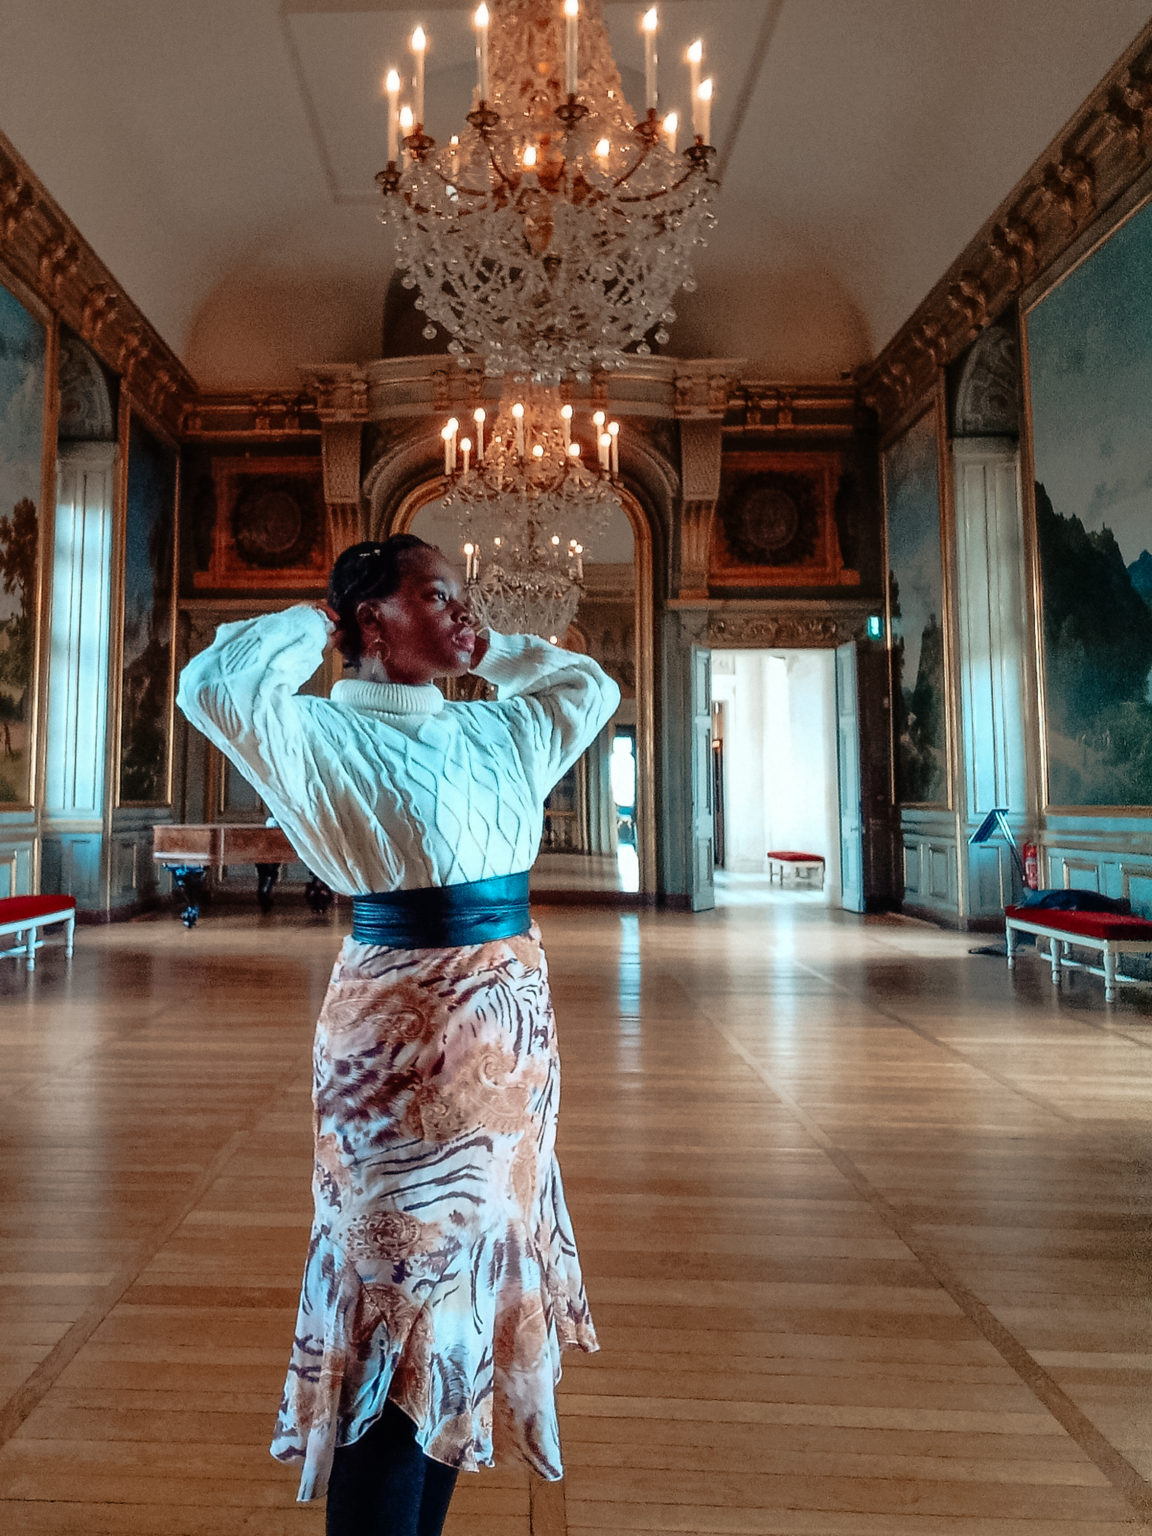
The reasoning behind this is that many times we have a fixed idea in mind it’s very easy to dismiss the initial results that differ from what we were thinking.

It is only when we’re home and relaxed we can see with perspective the beauty of what we created. I find myself saying so many times that it wasn’t what I intended but it was so much better.

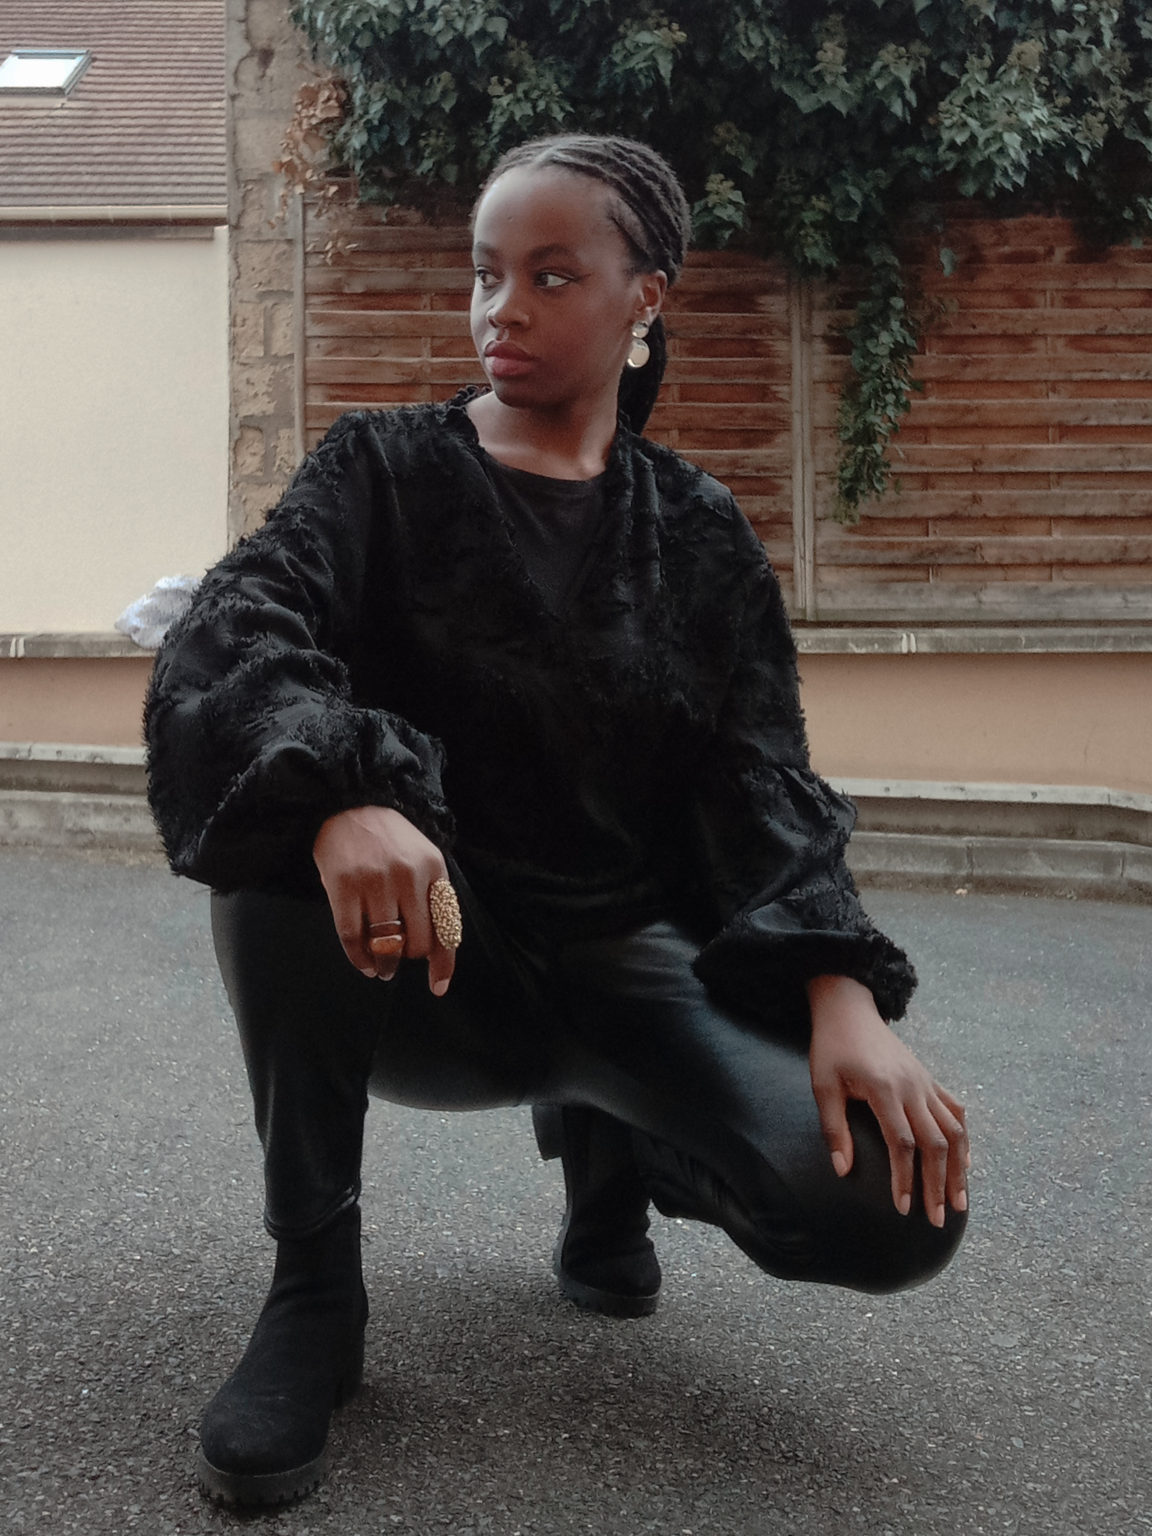
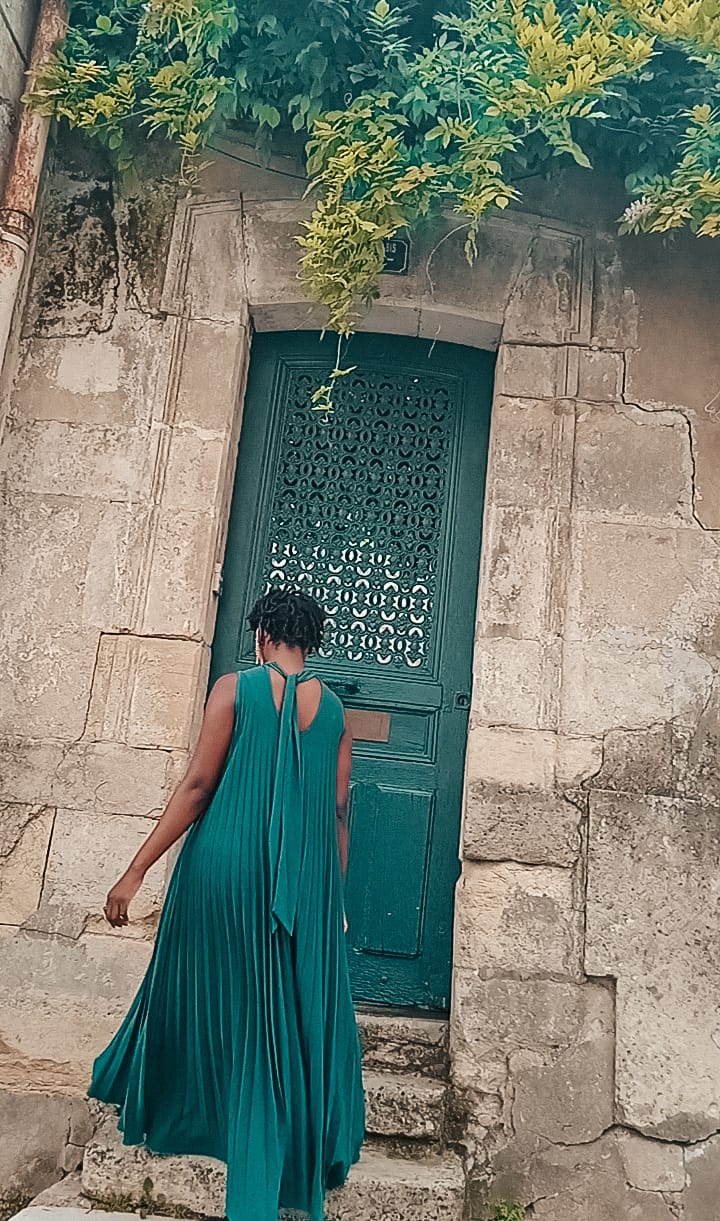
Also, there is a lot to learn from bad photos. You can see what angles, poses, and lightning work and what does not. You can look learn and do better.

Disclaimer: This article is informational only. I am not a professional photographer so the knowledge presented is from my experience throughout the years. All the picture examples in this article were a result of self-photography and cannot be used without the creator’s permission.

You Might Be Interested In

Sometimes you don’t want to find a location, take all your equipment and props and photograph there. I advise you to try at home photography. For the best results, here are my 6 most useful tips.

Self-photography allows you to take control of every aspect of the picture and make it look exactly how you want it. 

Learn how manual/pro mode works in smartphone cameras, as well as how different smartphone camera settings affect the photos you take – ISO, Aperture, White Balance, Focus and Shutter Speed.